Skip to content

Austin · West Lake Hills · Rollingwood · Barton Creek · Lakeway

Tile Kitchen Backsplash Installation in Austin, TX

Austin Custom Countertops is the Travis County countertop shop that finishes the wall above the stone, installing tile kitchen backsplashes in Austin, TX, and specializing in ceramic and porcelain subway, handmade-look and zellige tile, natural stone mosaic and full-height slab-look porcelain. We offer herringbone, stacked and offset layouts, grout matched to your counter, and a clean flexible joint where the tile meets the stone.

  • Licensed, insured & bonded
  • Free in-home measure
  • One firm written price

Request a FREE Quote!

Tile Kitchen Backsplash Installation in Austin, TX

Our team provides a backsplash planned from the countertop up, because the bottom course of tile sits on the stone we set and every cut above it depends on how level and straight that edge is, delivering a wall where the pattern starts on a full tile, the outlets sit flush and the grout lines finish square at the cabinets for kitchens across Austin. The countertop and the tile are measured by the same people and scheduled as one job, and the workmanship warranty is written onto the quote before you sign.

From pulling the old tile and flattening the drywall behind it to choosing between cement, urethane and epoxy grout for a wall that sees bacon grease and Austin's hard water, our team handles every detail. We are serving Austin, Steiner Ranch, Rollingwood and Barton Creek, and we install complete kitchen backsplashes, the full run from counter to cabinets, rather than patching a few broken tiles.

How we work

Licensed, insured & bondedDocumented insurance and permits where the job needs them
Countertop and tile, one crewNo gap between the stone installer and a separate tile setter
One firm written pricePrep, tile, grout, trim and sealant on one number
Laser templatingThe same measure that cuts your counters sets out the tile layout

Why a backsplash belongs to the countertop job

Most backsplash problems start at the bottom row. Tile is set on top of the countertop, so the first course follows whatever the stone does. If the counter has a slight dip at a seam, or the wall bows away from the cabinets on an older Austin ranch house, the setter either chases that line and every grout joint above it wanders, or holds a level line and ends up with a tapering sliver at the counter that looks like a mistake. Neither is fixed with grout.

Because we template and set the counters ourselves, we know where the stone is flat, where the seams fall and where the wall is out before a single tile is bought. The layout is drawn from those measurements: where the pattern starts, where the cut tiles go, how the rows meet the window sill and the underside of the upper cabinets.

It also settles the order of work. New counters go in first, the tile goes on after, and the gap between them is closed with a flexible sealant, not grout. If you are replacing the countertops in your kitchen at the same time, booking both together means one measure, one schedule and no finger pointing between two trades when the joint at the counter does not look right.

The tile we install, and what each one asks of the wall

Ceramic and porcelain subway

The 3 by 6 inch white gloss subway is still the most requested backsplash in Austin, now joined by 2 by 8, 3 by 12 and 4 by 16 formats. Ceramic cuts cleanly around outlets and window returns. Matte porcelain carries its colour through the body, so a chipped edge does not show white.

Handmade-look and zellige

Zellige is glazed clay tile hand cut in Morocco, with no two pieces the same thickness or shade, set with tight joints so the wall catches light like water. It arrives with chips and pits in the glaze by design, so we sort the boxes and spread the strongest variation across the wall. Machine-made handmade-look ceramic gives similar glaze movement with flatter faces.

Natural stone mosaic

Marble, travertine and limestone mosaics on mesh sheets carry the stone of the counter up the wall. They are softer and more absorbent than ceramic, so they are sealed before grouting and again after, and polished marble will etch from lemon and vinegar just as a marble counter does.

Glass is a different job

Glass mosaic and back-painted glass sheets use their own adhesive and cutting rules, so they are covered on our glass backsplash page rather than here.

Full-height slab-look porcelain

Large porcelain panels, made thin and in sheets several feet across, let you run the backsplash from the counter to the ceiling or the hood with very few joints. Many are printed to look like Calacatta marble or quartzite, and a matte or honed panel avoids the plastic sheen of cheaper printed tile. Behind a range they give a clean wall with almost no grout to scrub.

They are not installed like ordinary tile. A thin panel is unforgiving of an uneven wall, so the drywall is flattened before anything goes on it, the back of the panel and the wall are both buttered with thinset to get full coverage, and the panel is carried and pressed in on a frame so it does not flex and crack. Joints are planned like a stone slab: where the vein runs and which panel sits behind the cooktop.

Some clients compare this with a full-height backsplash cut from the same slab as the counter. Real stone gives a perfect match to the top and costs more in material and handling. Porcelain is lighter, needs no sealing, and shrugs off the heat and splatter behind a gas range. We fabricate both, so we can price the two side by side honestly. If you want the wall to shine rather than show a pattern, look at a back-painted glass splash instead.

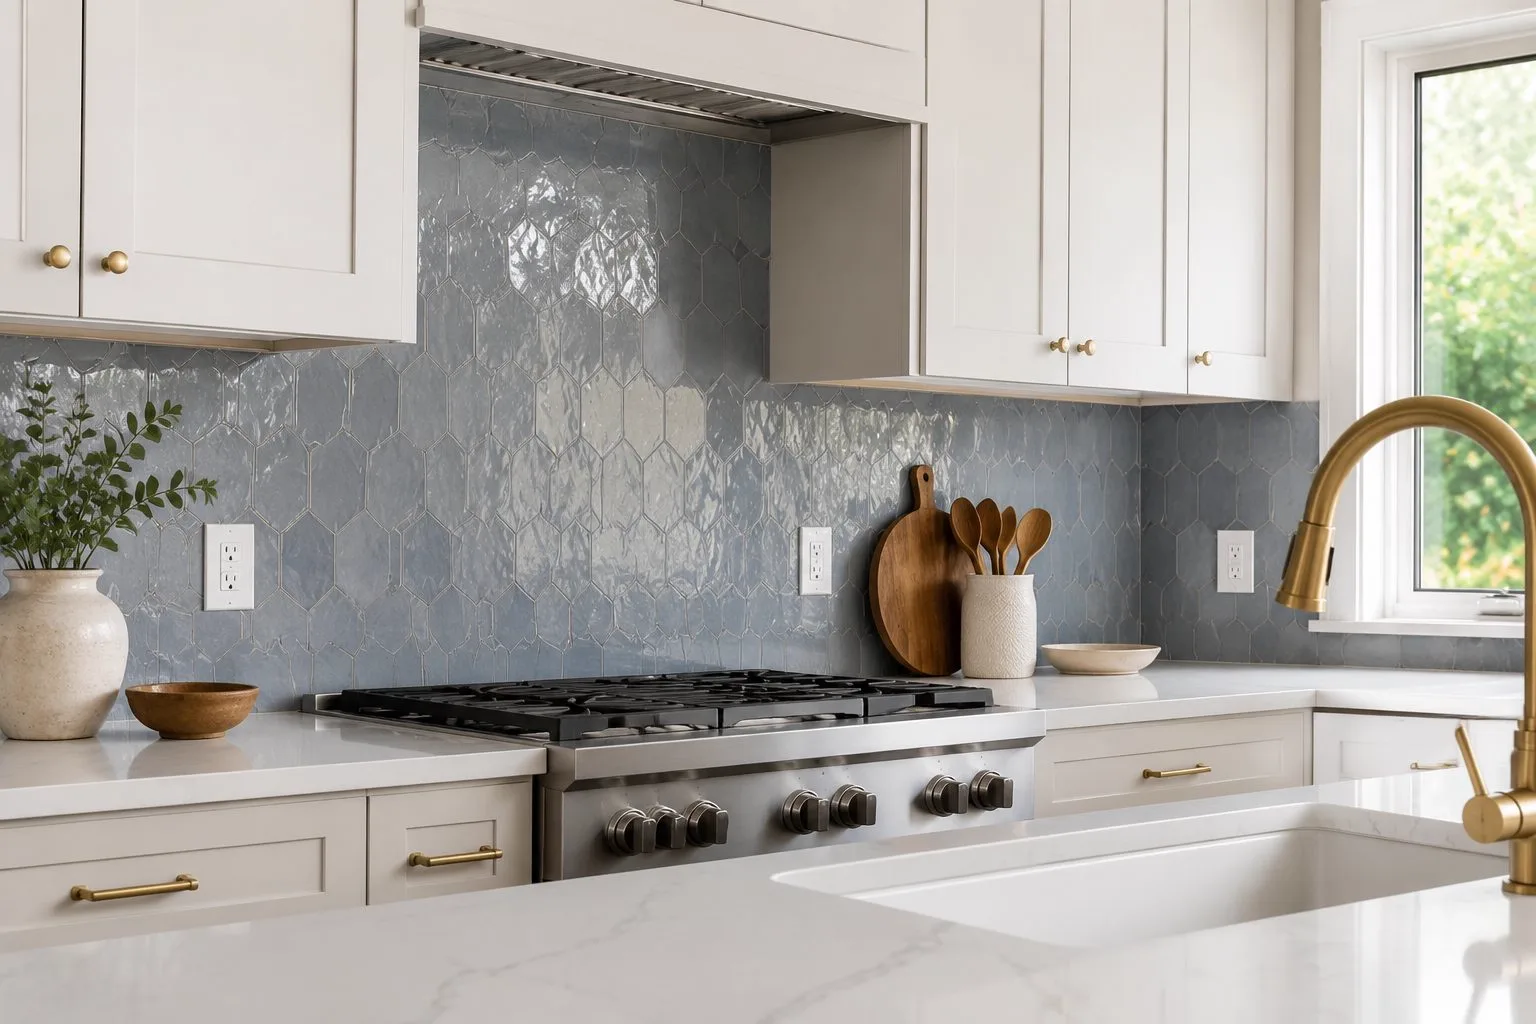
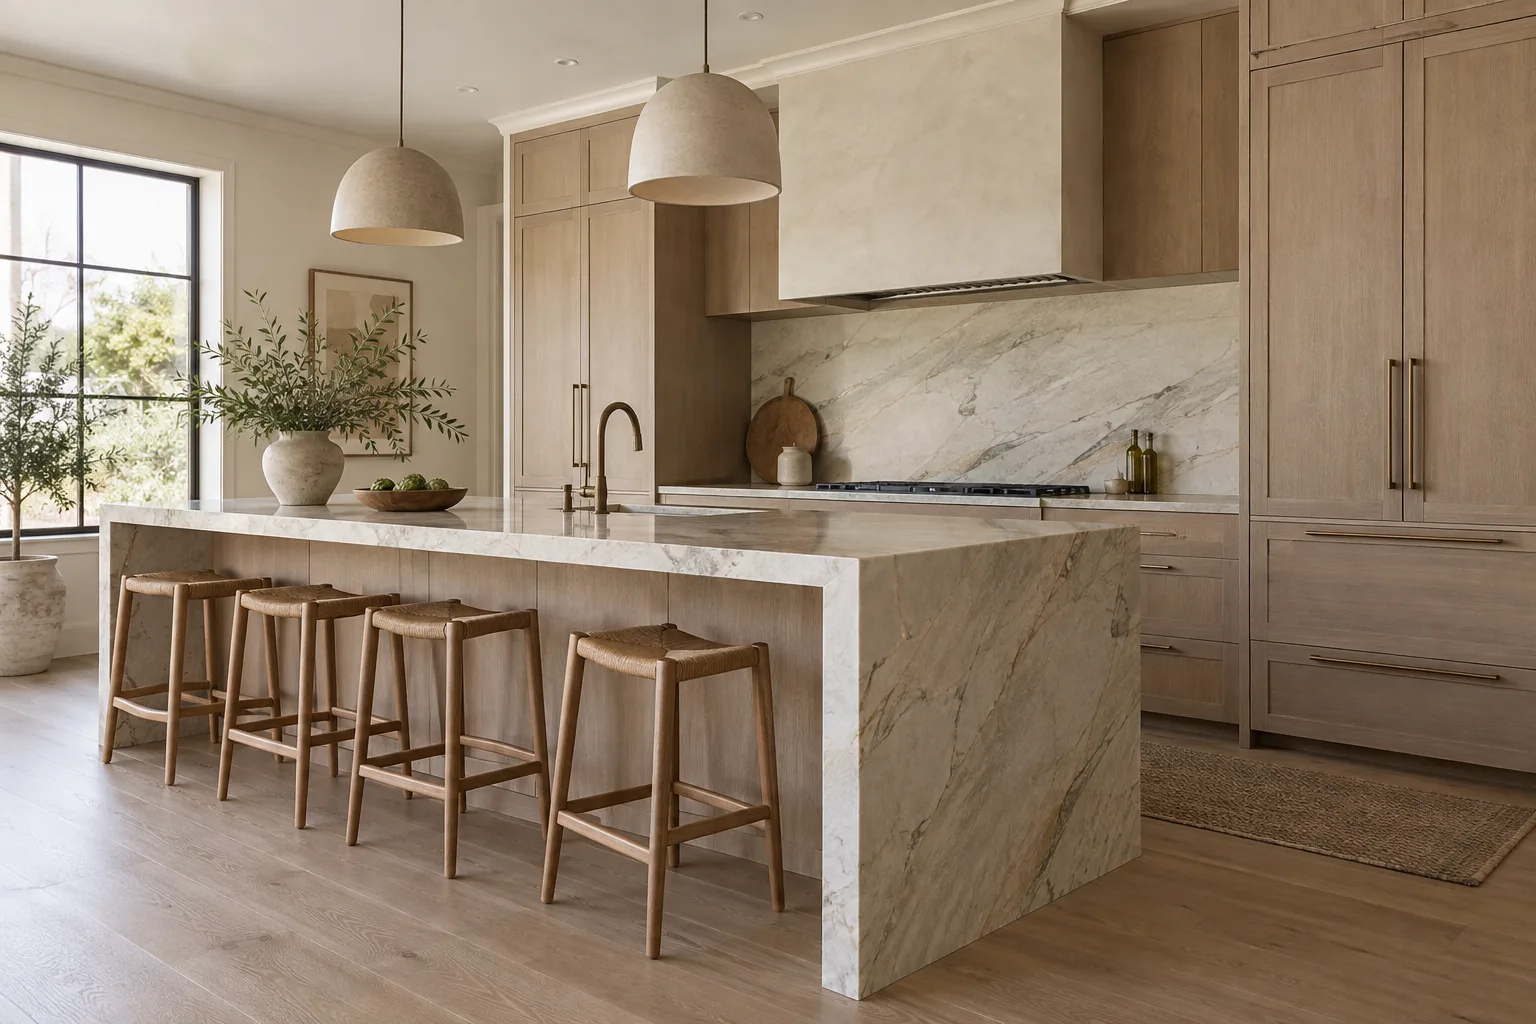
White oak kitchen with a heavily veined stone waterfall island, a matching full height backsplash and woven bar stools

Pattern and layout: herringbone, stacked and offset

Offset, or running bond. The classic brick pattern, each row shifted half a tile. For longer rectangular tiles we usually shift by a third instead of a half, because long tiles can have a slight bow in the middle, and a half offset puts the high point of one tile next to the low edge of its neighbour.

Stacked. Tiles laid in straight columns with the joints lined up both ways, either horizontal or vertical. It reads modern and calm, and it is the least forgiving pattern: every joint aligns across the wall, so the wall must be flat.

Herringbone and chevron. Tiles set at 45 degrees in a zigzag. It is the most labour of the three, it uses more tile because of the angled cuts at every edge, and the centre line of the pattern has to be placed deliberately, usually on the sink or the range, or the eye goes straight to the off-centre point.

Whatever the pattern, the layout is set from the most visible point, which in most Austin kitchens is the range wall or the window over the sink, and worked outwards so the cut tiles end up at the inside corners and under the cabinets where they are hardly seen.

Grout: cement, urethane or epoxy

Grout is the part of a backsplash you clean, so it is worth choosing carefully.

Cement grout is the traditional choice and the right one for many walls. Unsanded grout is used for the very narrow joints on glossy subway and zellige, where sand could scratch the glaze. Sanded grout fills wider joints without shrinking. Cement grout is porous and should be sealed, and in a kitchen it will darken behind the range over time.

Urethane and other premixed grouts come ready to use, resist staining much better than cement grout and do not need sealing. On a busy cook's backsplash they keep their colour far longer.

Epoxy grout is the most stain resistant option and the closest to maintenance free. It is also the hardest to install well. It sets fast, leaves a haze if not cleaned off in time, and lodges in textured or handmade tile. We use it where the backsplash takes the most abuse and the tile face is smooth enough to clean.

Austin's water is hard, and the mineral spots it leaves around a sink faucet show most on dark grout and on glossy dark tile. A mid-tone grout close to the tile colour is usually the easiest to live with.

Where tile meets your stone or quartz counter

The joint between the countertop and the first row of tile is where most backsplashes fail. The counter and the wall move independently, and grout in that corner cracks within a season or two. The correct detail is a small gap left above the counter and filled with a flexible sealant colour matched to the grout or the stone. The same goes for the inside corners of the wall and the line under the upper cabinets.

Because we installed the counter, we know the exact edge profile and colour, and we match the sealant to it instead of guessing from a sample. On a polished granite or quartzite top the sealant line is kept fine and straight. On a busy veined stone we match it to the background colour, not the veins. If you are still choosing between materials, our notes on engineered quartz counters cover how each surface reads against tile.

Where the tile stops matters as much. An open end beside a window or past the last upper cabinet needs a finished edge: a bullnose piece if the tile line makes one, a slim metal edge trim in a finish that matches the hardware, or for a stone mosaic a polished stone pencil. A raw cut edge is not acceptable on a wall you look at every day.

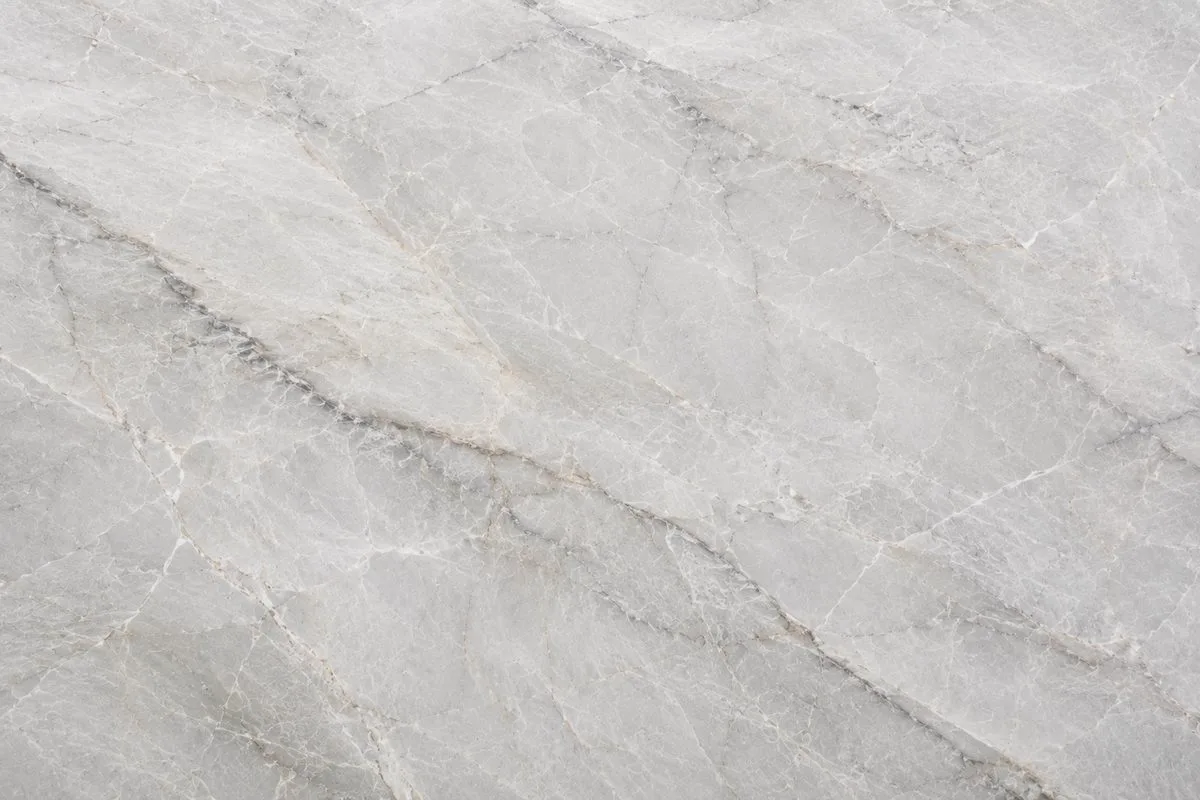
Close-up of a white and grey quartzite slab with fine grey veining

Prep behind the tile: removal, substrate and outlets

A tile backsplash is only as flat as the wall behind it. On an existing Austin kitchen that usually means removing an old 4 inch stone splash or a previous tile job first. Old tile set in mastic often comes off with paper face from the drywall attached, and those areas are cut out and patched, or skimmed and primed, before new tile goes on. New-build drywall in the newer subdivisions is usually sound but rarely flat enough for stacked tile or porcelain panels without a skim coat.

For most tile we use a polymer modified thinset rather than premixed mastic. Mastic is acceptable for small ceramic tile in a dry area, but it is not suited to stone, to large format porcelain or to glass, and behind a sink it stays soft longer than we like.

Outlets and switches need attention that most homeowners do not think about until the end. Tile moves the face of the wall forward and leaves the electrical box recessed. We fit box extender rings so the outlet sits flush with the tile face and the cover plate seats properly, and we cut the tile tight to the box so a standard plate covers the edge. Outlets are planned into the layout so they fall on a grout line or the centre of a tile, not on a thin sliver. If you are adding under-cabinet lighting, the wiring goes in before the tile, not after.

Our own shop and crew, start to finish

Every countertop we install is cut on the CNC in our own Austin shop, and the people who template the kitchen set the stone and then the tile. When the counter, a stone return or slab-look panels come off the same bench, the measurements agree because they came from one template.

Many homeowners pair a new tile backsplash with a granite countertop replacement or a quartz top, and the order is simple: we measure for both, install the counters, then come back for the tile once the counters are set and the plumbing is reconnected. You get one firm written price covering both, and one crew answerable for how the two meet.

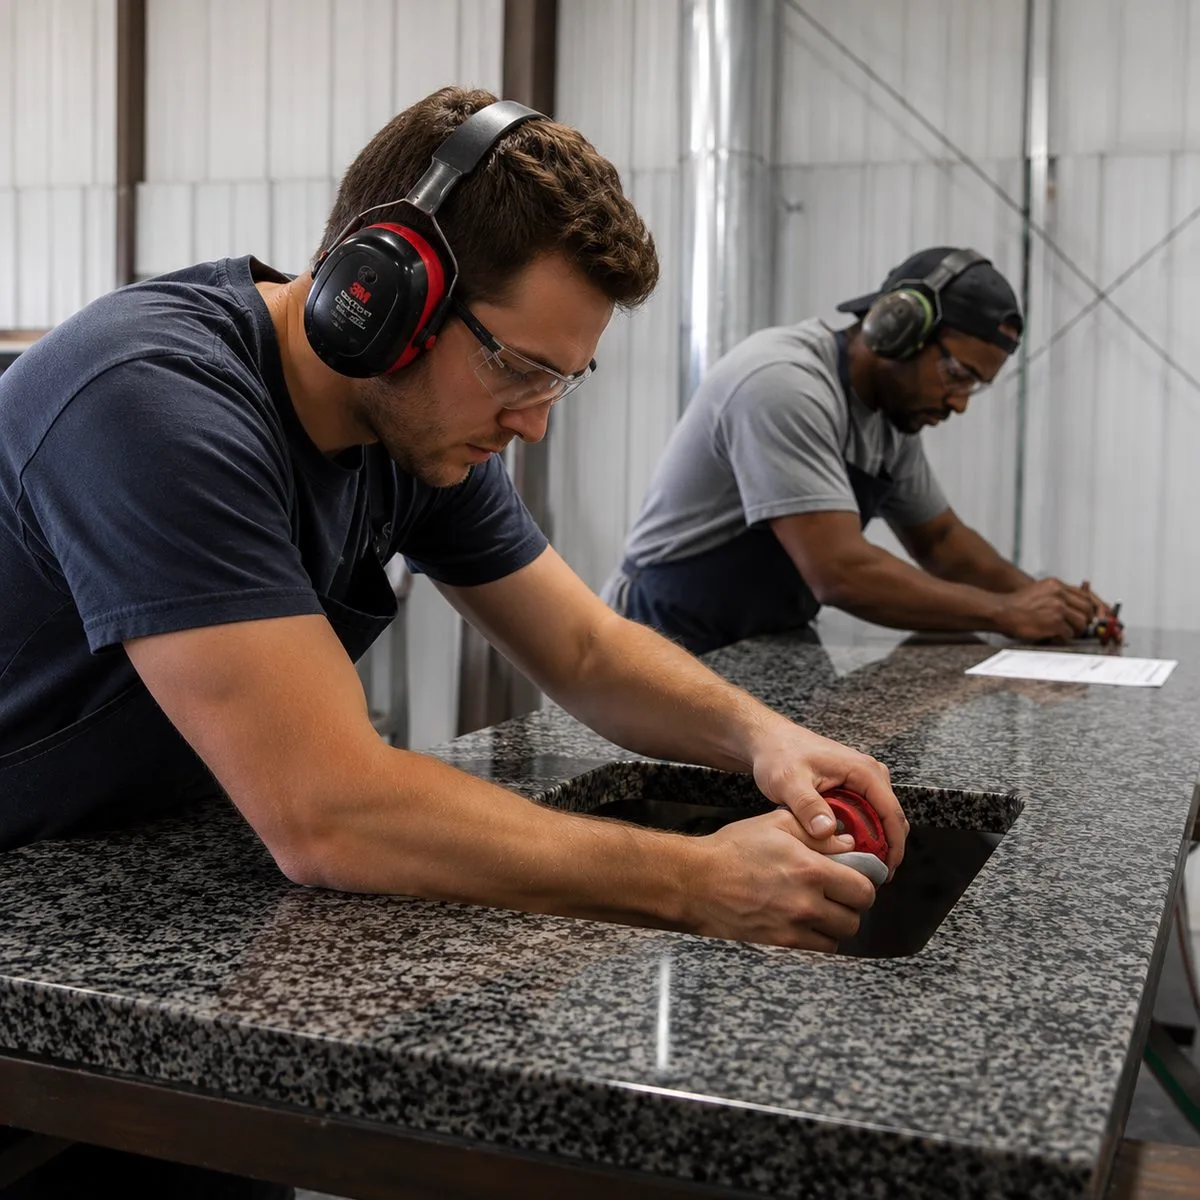
Two fabricators wearing ear defenders polishing a sink cutout in a dark speckled granite countertop in a metal fabrication shop in Austin

What moves the price of a tile backsplash

We do not post a price per square foot, because the wall area is only part of the number. Here is what changes it.

The tile itself varies more than any other line. A white ceramic subway and a hand-cut zellige or a marble mosaic are priced far apart, and handmade tile also needs more overage to allow for sorting and breakage. Pattern changes labour and waste: stacked and offset are the most efficient, herringbone and chevron take longer and use more tile. The number of cuts matters too: a wall broken up by a window, a hood, several outlets and an open end takes much longer per square foot than a plain run.

Removal and prep are often the surprise: taking off an old stone splash or tile and repairing the drywall is real work, and a wall flattened for porcelain panels or stacked tile adds a day. Epoxy grout costs more than cement grout. Edge trim and box extenders are small items, but every one is listed on the written price, not added at the end.

Counters and walls we finish together

How the job runs

  1. Free measure

    We measure the wall and the counters, mark outlets, windows and the hood, and check how flat the wall really is.

  2. Layout and tile choice

    You pick the tile, pattern and grout, and we show you where the pattern starts and where the cut tiles land.

  3. Prep

    Old splash removed, drywall repaired or skimmed, box extenders fitted and the counter protected.

  4. Set, grout and seal

    Tile set in thinset, grouted the next visit, then the counter joint and corners finished with matched sealant.

Tile backsplash questions

Should the backsplash go in before or after new countertops?

After. Tile sits on top of the countertop, so the counter has to be installed, level and seamed first. When we do both, the counters go in, the plumbing is reconnected, and we come back for the tile.

How long does a tile backsplash take to install?

Most full kitchen backsplashes take two visits: one day for prep and setting the tile, and a shorter visit to grout and seal once the thinset has cured. Herringbone, porcelain panels or heavy wall repair can add a day.

Which grout is best behind a stove?

For a busy cooking wall, a urethane or epoxy grout keeps its colour far better than cement grout and does not need sealing. Epoxy is the most stain resistant but needs a smooth tile face to clean properly. On handmade or textured tile we usually recommend urethane.

Can you match the sealant line to my granite or quartz?

Yes. The joint between the counter and the tile is flexible sealant, not grout, and we colour match it to your stone or to the grout.

Will my outlets end up sunk behind the tile?

Not when it is done right. We fit box extender rings so each outlet and switch comes forward to sit flush with the tile, and we plan the layout so the boxes land on a grout line or the middle of a tile rather than on a thin cut.

Is zellige practical in a kitchen?

Yes, with the right expectations. The glaze is durable, but the tile is handmade, so it arrives with chips, pits and colour shifts that are part of the look. Around the range it wipes clean like any glazed tile.

Can you remove my old granite splash and tile the wall instead?

Yes. The old 4 inch stone splash is cut free from the counter, the wall behind it is repaired, and the tile is run down to the countertop with a clean sealant joint.

Do you only do backsplashes with a countertop job?

No. We install complete tile backsplashes on their own too, the full wall from counter to cabinets. What we do not take on is patching a few broken tiles in an existing backsplash.

Free estimate

Get a firm written price on your tile backsplash

Free measure across Austin and the surrounding Hill Country. Counters and tile planned together, with nothing added at install.

Call (512) 649-1665

Calls only, we do not receive text messages.

Call (512) 649-1665